
Steel Beam Installation: How a Load-Bearing Beam Gets Installed
Steel beam installation for load bearing wall removal follows a precise sequence: engineering, beam sizing, temporary support, beam pocket, placement, and post installation. Most Texas homes complete in one day. LBWP's in-house PE oversees every beam installation with PE-stamped plans included.
1856 | Slug: how-to-install-a-load-bearing-beam---
Every bridge tells the same story: there's a gap, and something needs to cross it.
The Golden Gate spans the mouth of San Francisco Bay -- 4,200 feet of open water, fog, and earthquakes. The Brooklyn Bridge stretched across the East River when people still thought it was impossible. And the beam that replaces your load-bearing wall? It spans that eight-foot, twelve-foot, maybe twenty-foot gap between your kitchen and your living room, carrying thousands of pounds of roof and floor across open air.
Different scales. Same engineering. Same physics. Same fundamental question: how do you make something hold weight across empty space?
The answer, whether you're Joseph Strauss designing the Golden Gate or a structural engineer sizing a beam for your 1985 ranch in Plano, is the same: you do the MATH, you use the right materials, and you do NOT cut corners.
Let's build this bridge.
The Blueprint Phase: Engineering Comes First
No one builds a bridge by eyeballing it. No one says "that looks about right" and starts pouring concrete over a river. And yet, an alarming number of people think they can pick a beam off a shelf and slap it into their ceiling.
Beam sizing is ENGINEERING. Not estimation. Not vibes. Not "my buddy used a 3-ply LVL on his house and it worked fine."
Here's what goes into the calculation:
Span length -- How far does the beam need to reach? Longer spans need bigger beams. An eight-foot kitchen opening and a twenty-foot great room opening require DRAMATICALLY different beams, the same way a footbridge over a creek and a highway overpass require different structures.
Load above -- What's the beam carrying? Just a ceiling and some insulation? Or a second floor with a bathroom full of cast-iron fixtures and a waterbed? (Yes, people still have waterbeds. Yes, they're heavy.)
Load type -- Is it a uniform load spread evenly across the beam, or point loads concentrated at specific locations? This changes the stress distribution entirely.
Bearing points -- Where does the beam deliver its load? The posts at each end need to sit on something that can handle the weight -- all the way down to the foundation. A bridge that ends at soft ground is worse than no bridge at all.
⭐️⭐️⭐️⭐️⭐️ "We recently hired Load Bearing Wall Pros - Houston / The Woodlands for a major structural renovation, and I couldn't be more impressed with their professionalism and expertise." -- Mary Musa, Houston
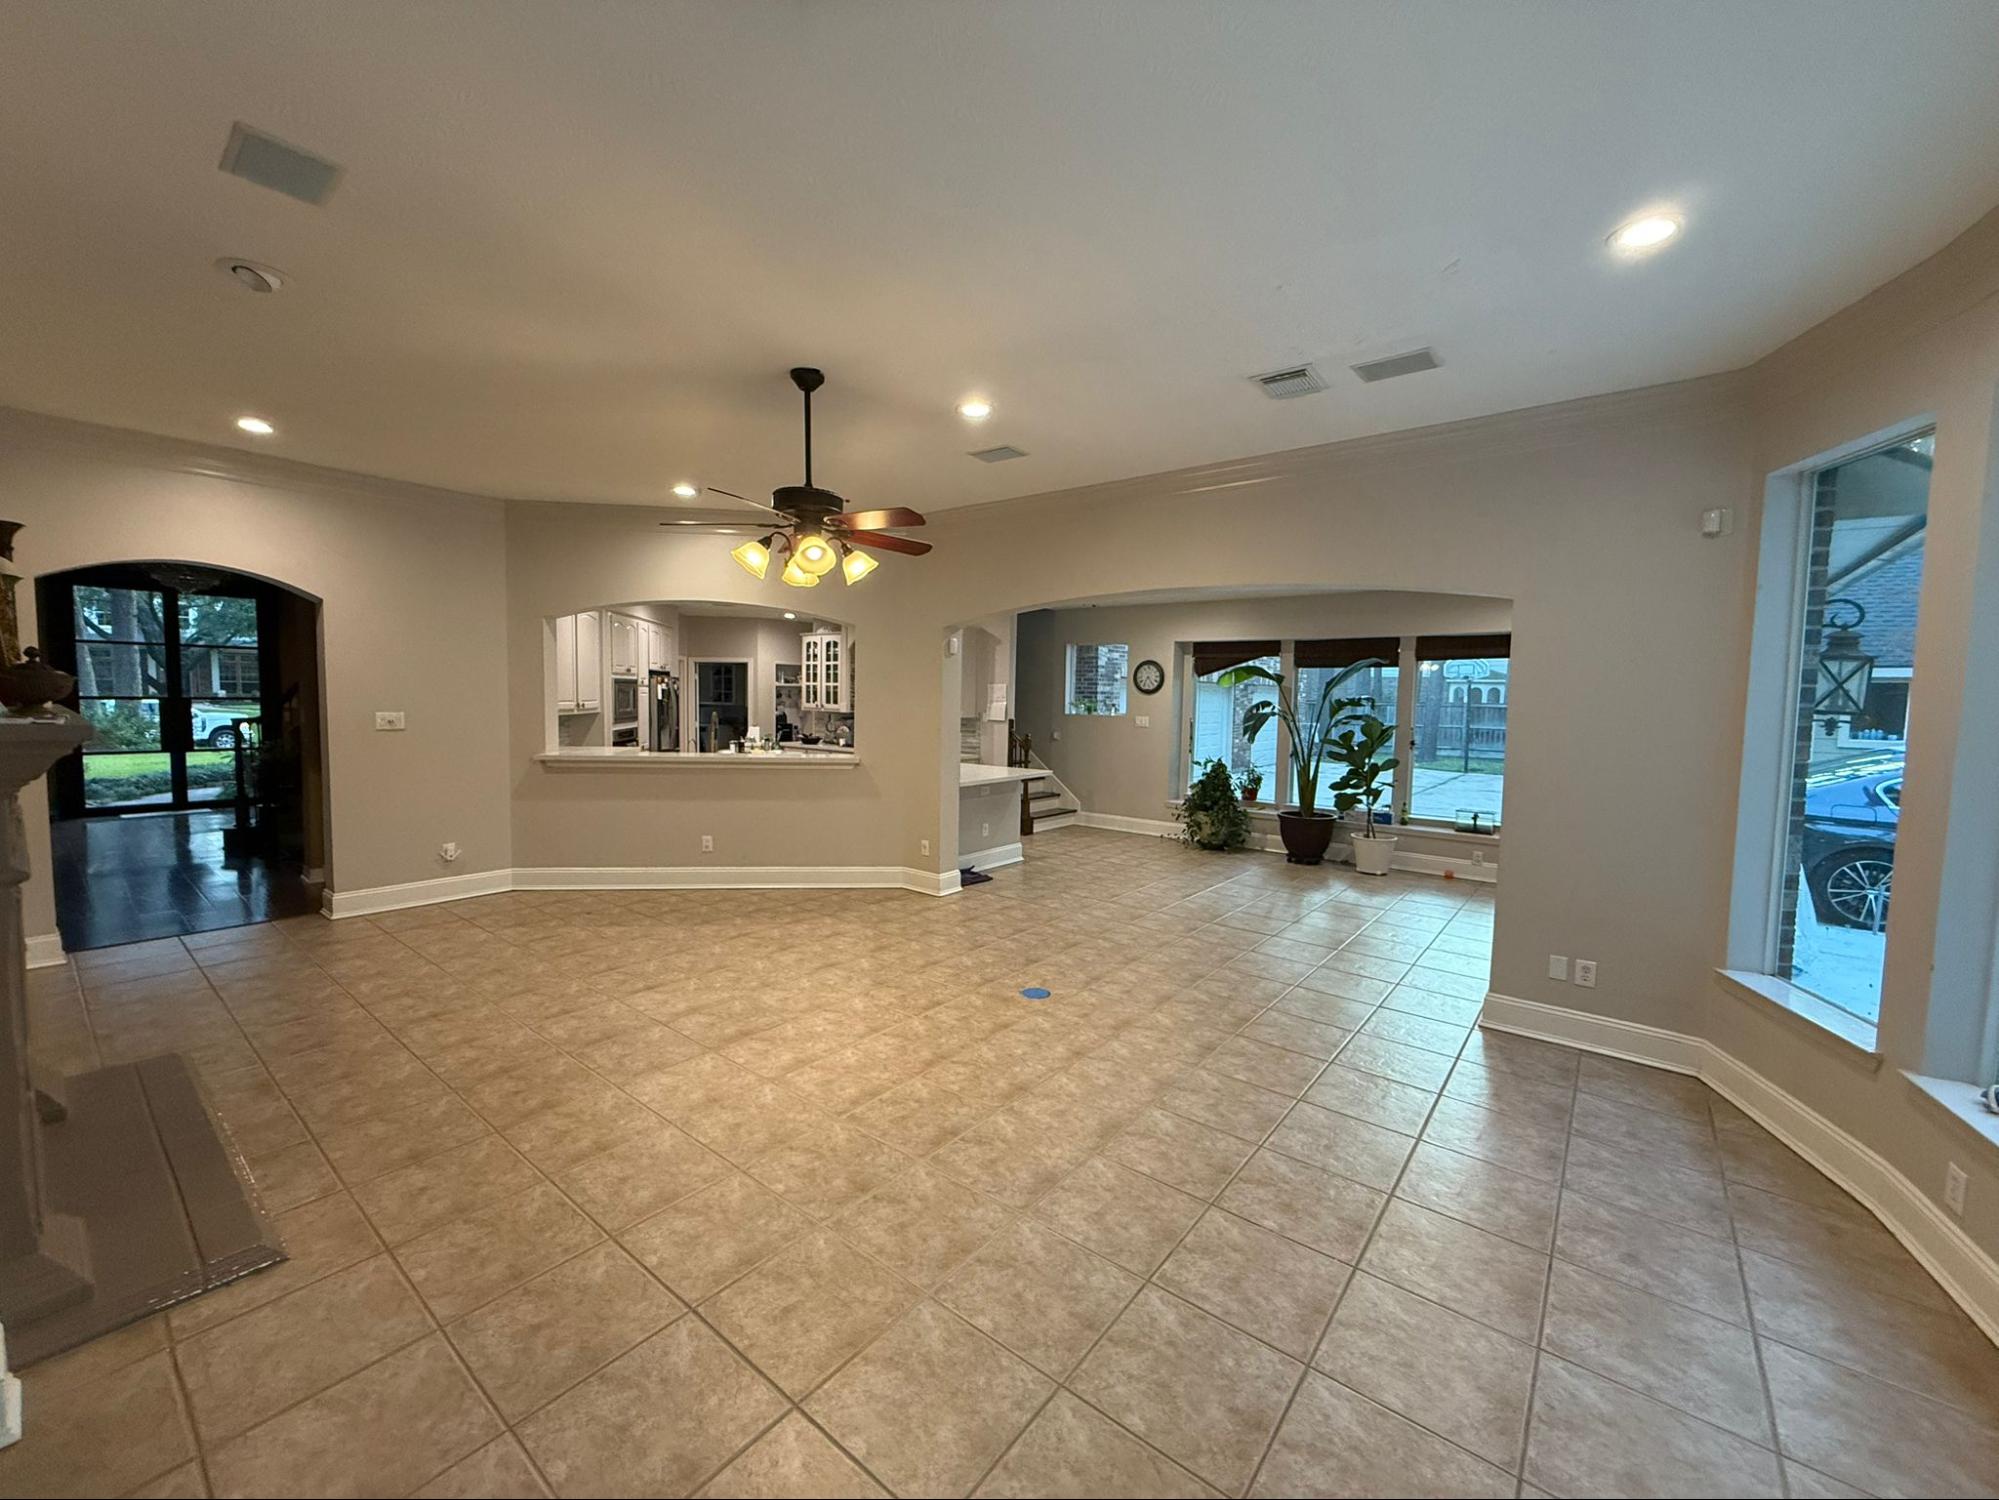
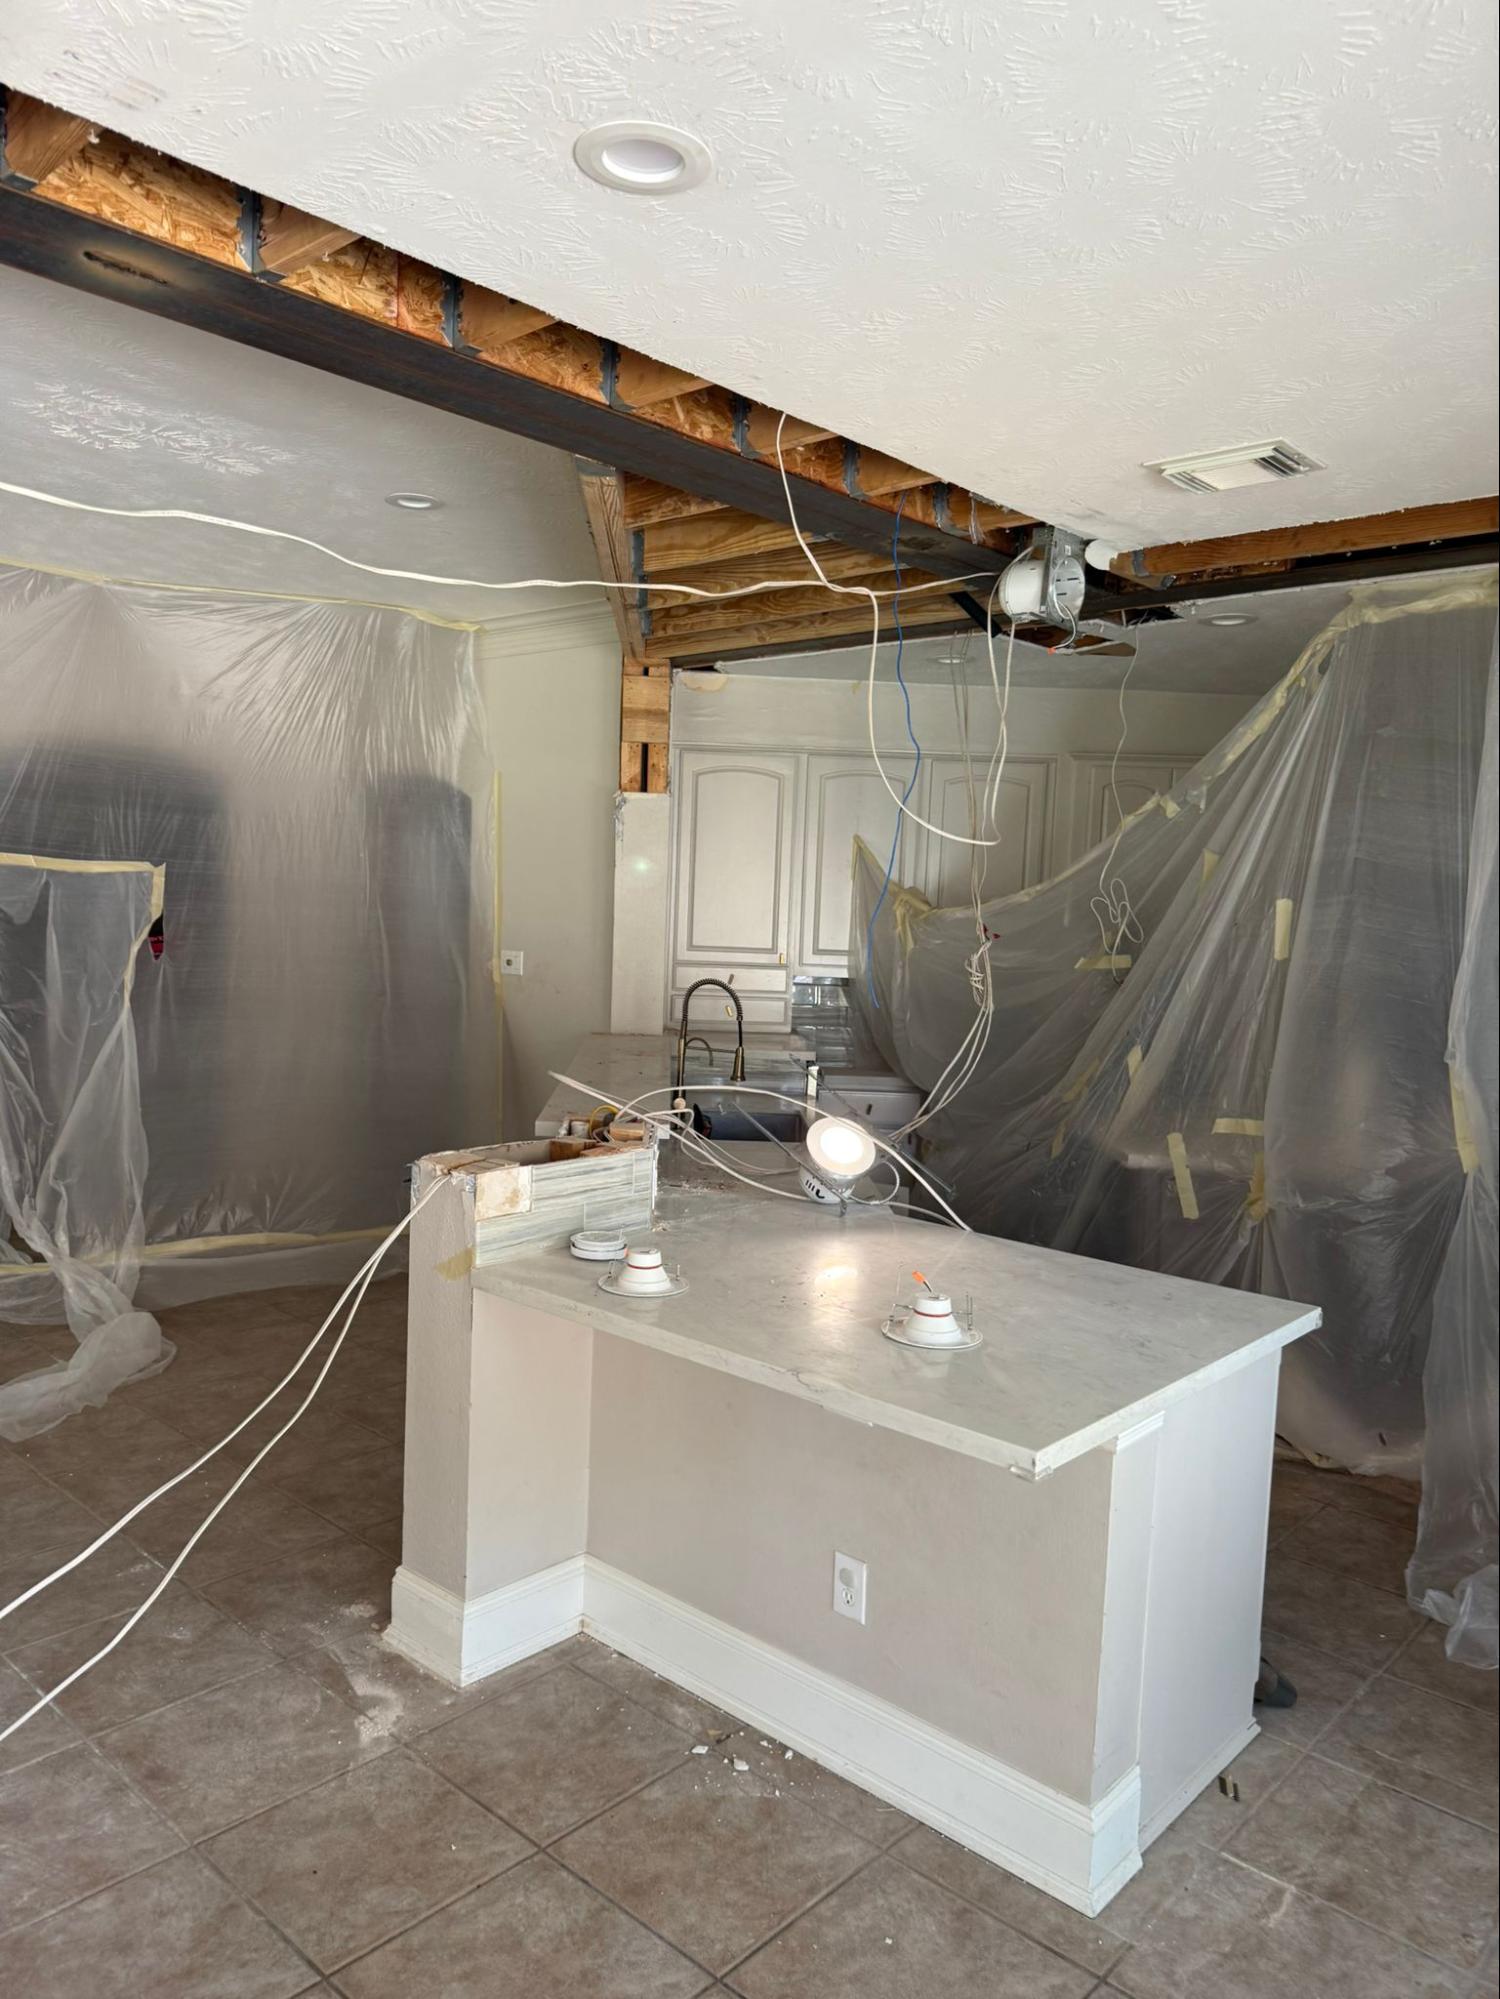
At LBWP, our in-house PE (Mateo Galvez) runs these calculations for every single project. Not span tables from a generic reference book. YOUR house. YOUR loads. YOUR bridge.
The Materials: Choosing Your Steel and Cable
Every bridge builder has to choose materials. The Golden Gate used 83,000 tons of steel and 80,000 miles of wire cable. Your project will use significantly less -- but the material choice is just as critical for the scale of work being done.
Steel I-beams are the suspension cables of the beam world. Massive strength, minimal size. A steel beam can span longer distances and carry heavier loads than any other option. It won't rot, won't warp, won't shrink. It'll carry its load for 100 years without blinking.
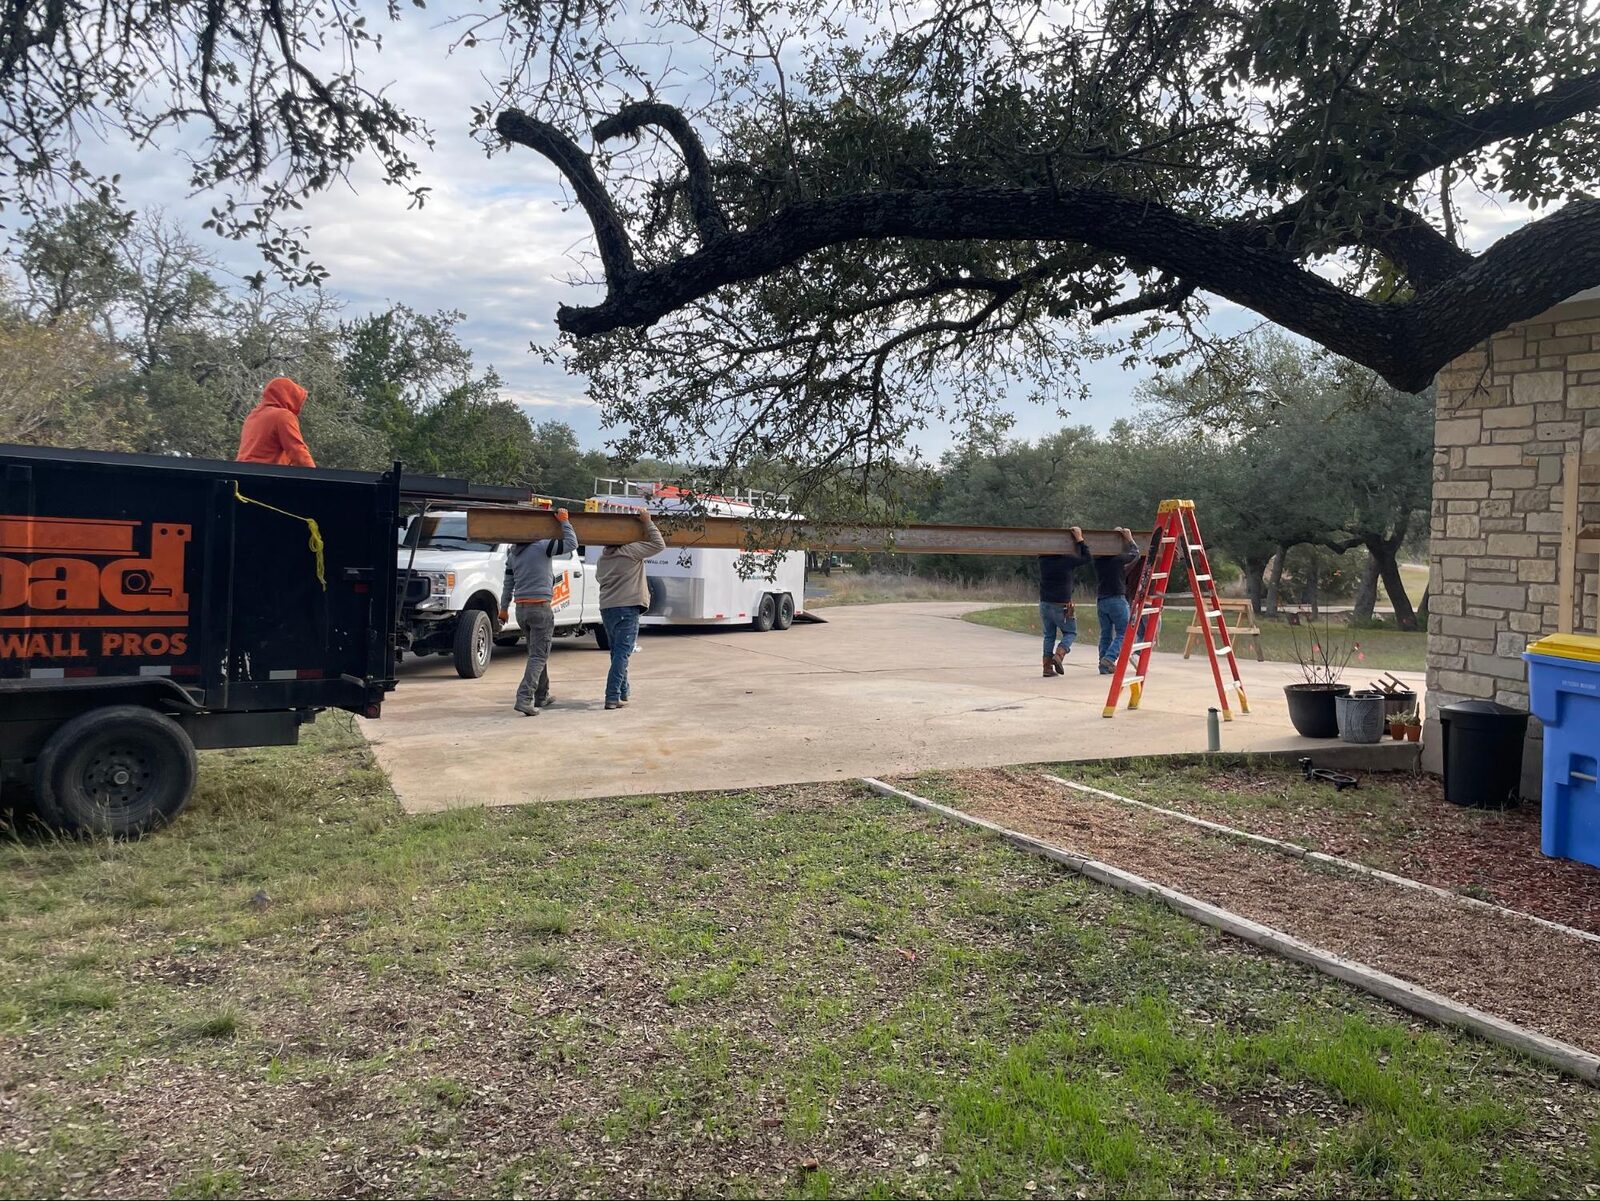
Downsides? Steel is HEAVY. A beam for a 16-foot span might weigh 300-400 pounds. You need equipment or a serious crew to move it. And cutting steel on-site requires specialized tools.
LVL (Laminated Veneer Lumber) is your reinforced concrete -- incredibly strong, more workable than steel, and often the most cost-effective option. LVL beams are built by laminating thin layers of wood veneer under heat and pressure, creating a beam that's stronger than solid lumber and dimensionally stable.
Multiple LVL plies can be bolted together to create deeper, stronger beams. A 3-ply or 4-ply LVL can handle serious loads while being far easier to lift and install than an equivalent steel beam.
PSL (Parallel Strand Lumber) and Glulam are the specialty options -- used when specific strength, appearance, or dimensional requirements come into play. Think of them as custom-fabricated bridge components for unique situations.
The right material depends on YOUR span, YOUR load, and YOUR budget. There's no universal "best" beam -- there's only the RIGHT beam for your specific bridge.
The Scaffolding: Temporary Support
Before you can build a bridge, you need scaffolding. Before you can install a beam, you need TEMPORARY SUPPORT.
This is the step that separates professionals from amateurs. And it's the step that amateurs skip, with predictable results.
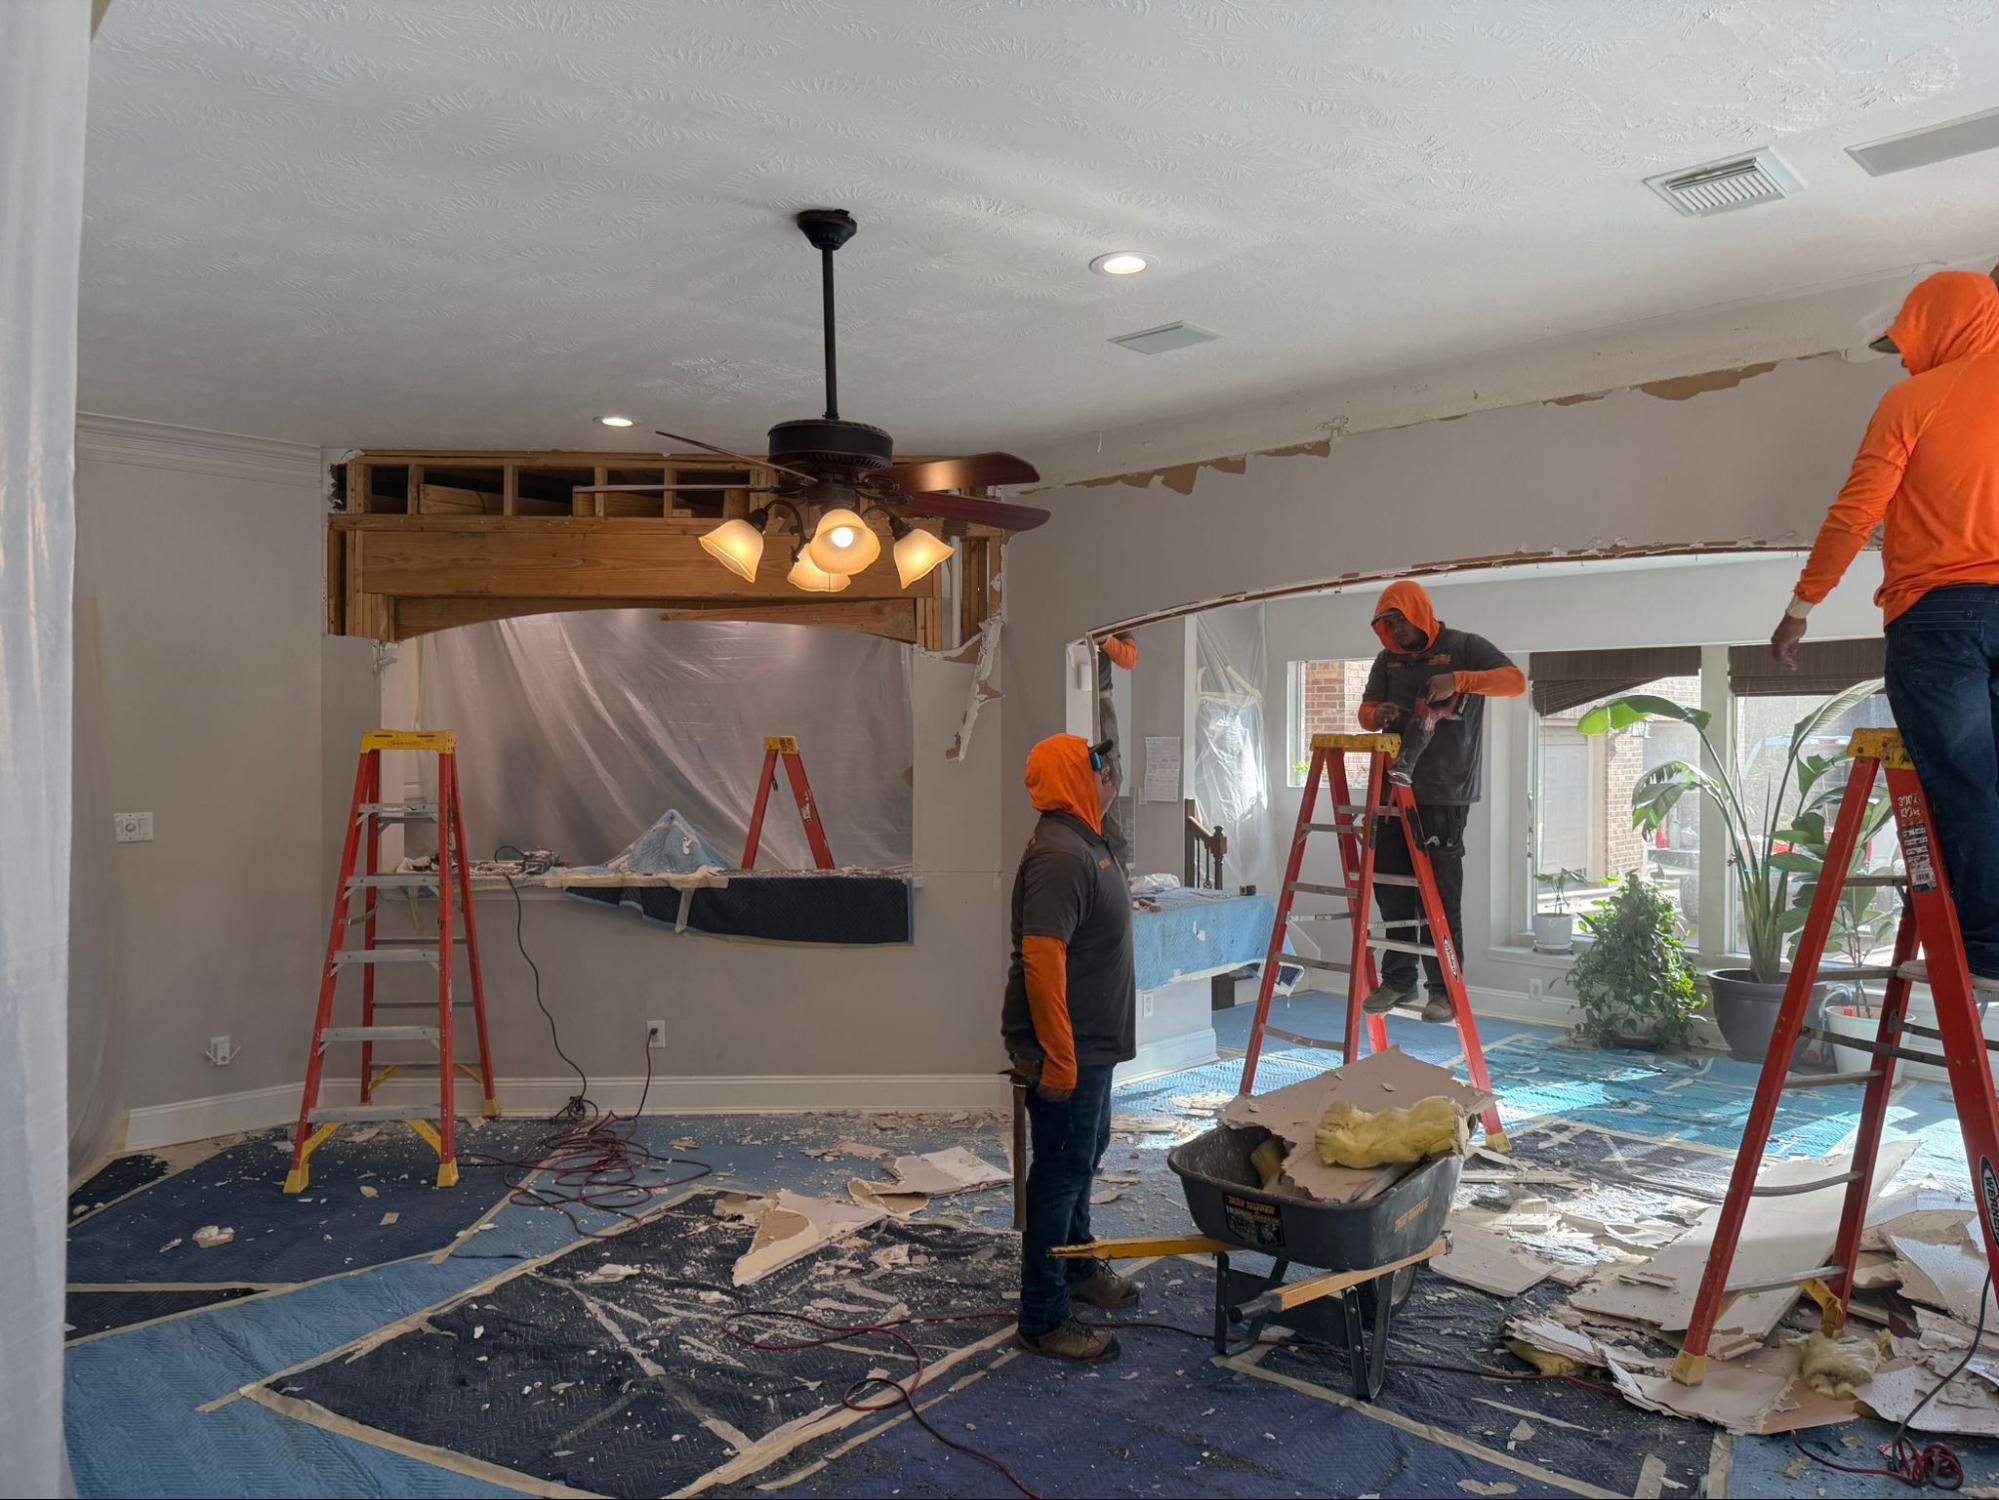
Temporary support walls or adjustable posts are installed parallel to the existing wall. They carry the load from above while the wall is removed and the beam is installed. Without them, removing the wall would be like dynamiting the bridge piers while traffic is still crossing.
The temporary support must be:
- Properly positioned -- directly under the load path, not off to the side
- Adequately strong -- rated for the weight they'll carry
- Safely installed -- on solid footing, not on carpet over a crawlspace
- Left in place until the permanent beam is fully installed and secured
"They built temporary support walls on both sides before touching the existing wall. Even my wife, who was nervous about the whole thing, said it made her feel safe watching them work. Nothing moved. Nothing creaked. Total control." -- Barbara Alvarez, DFW
The Construction: Building the Bridge
With engineering done and temporary support in place, it's time to build. Here's how it goes:
Step 1: Create the Beam Pocket
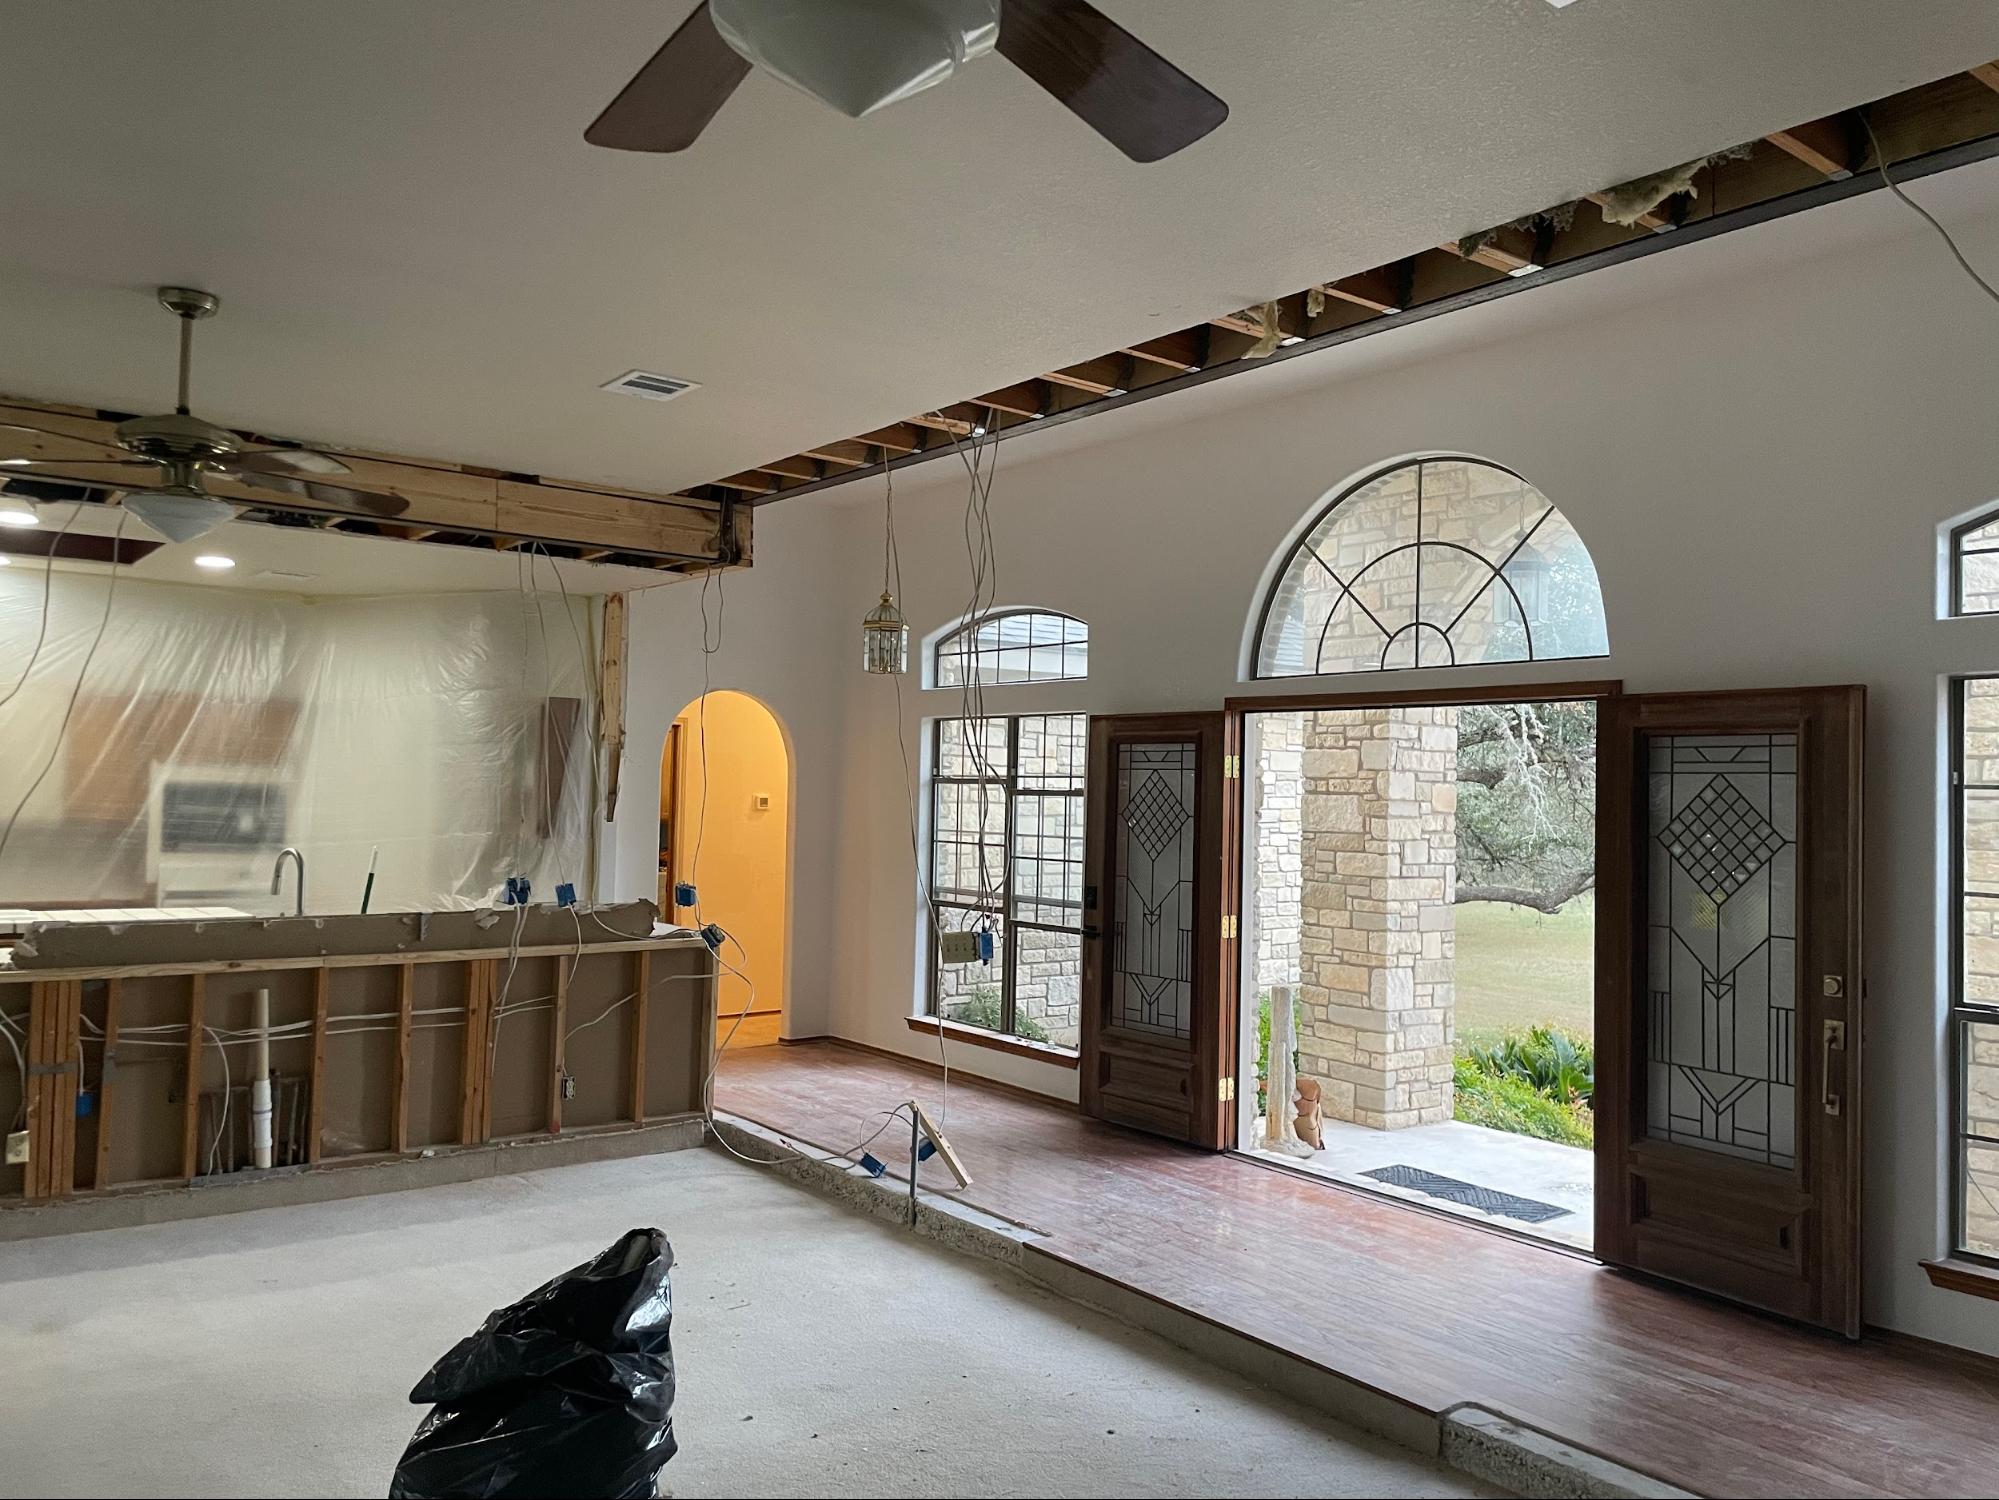
The ceiling joists need to make room for the beam. If it's a flush beam (hidden in the ceiling), joists are cut and prepared to accept the beam between them. If it's a drop beam (below the ceiling), less joist modification is needed.
This is precision work -- like cutting bridge deck sections to fit. Every cut has to be exact. Too much, and you've weakened the framing. Too little, and the beam won't fit.
Step 2: Set the Bearing Points
Posts or stud packs go in at each end of the beam span. These are the PIERS of your bridge -- the vertical elements that transfer the beam's load straight down to the foundation.
The bearing points must sit on something solid. In slab-on-grade homes (common in Texas), they can bear directly on the slab. In pier-and-beam homes, they need to align with a pier or foundation beam below.
A beam sitting on an inadequate bearing point is a bridge with one pier on sand. It might stand for a while. But eventually, physics wins.
Step 3: Lift and Place the Beam
This is the moment. The beam goes in.
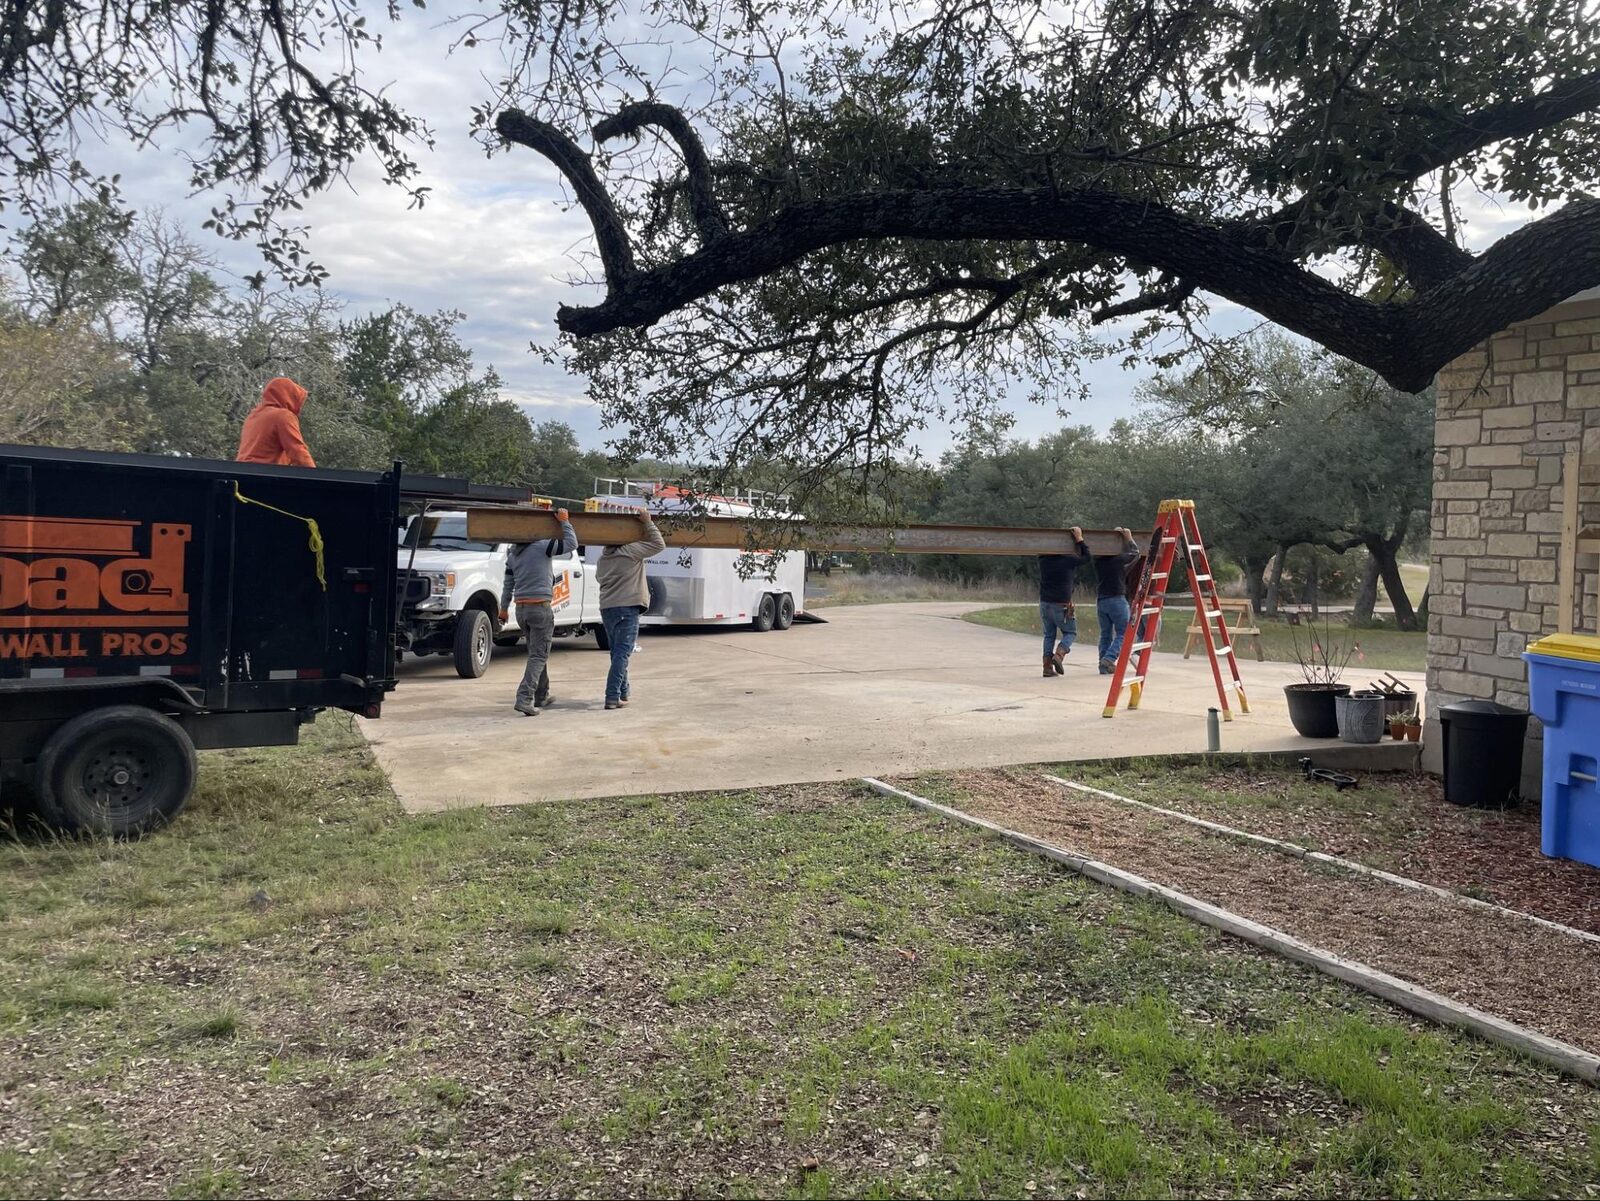
For steel beams, this often requires multiple people and sometimes mechanical assistance. Three hundred pounds of steel doesn't cooperate with two guys and a prayer. For LVL beams, the process is more manageable but still requires coordination and care.
The beam slides into its pocket or rests on its bearing points. It gets checked for level -- IMMEDIATELY. Any tilt, any twist, any deviation gets corrected NOW, not later. A bridge that starts crooked stays crooked.
Step 4: Connect the Joists
Each ceiling or floor joist that was previously supported by the wall now gets connected to the beam using joist hangers -- metal brackets that wrap around the bottom of the joist and fasten to the beam face.
Joist hangers aren't optional. They're not "nice to have." They're the physical connection that transfers load from the joists to the beam. Without them, joists are just SITTING on the beam, relying on gravity and friction. With them, the load is mechanically transferred and secured.
Every hanger gets nailed or screwed with the correct fasteners in EVERY hole. Not every other hole. Not "most" of them. All of them. The engineer who designed the Golden Gate's cable clamps specified torque values for every bolt. Same principle, different scale.
Step 5: Remove Temporary Support
The bridge is complete. The load path is solid from roof to beam to posts to foundation.
Now -- and ONLY now -- the temporary support comes down. Carefully. Watching for any sign of movement, deflection, or stress. If everything holds (and with proper engineering, it always does), the beam is carrying its full load.
Your bridge is open for traffic.
⭐️⭐️⭐️⭐️⭐️ "We recently hired Load Bearing Wall Pros to remove two large load-bearing walls in our home, and the experience was outstanding from start to finish." -- Prabhanjan lv, Austin
The Inspection: Load Testing Your Bridge
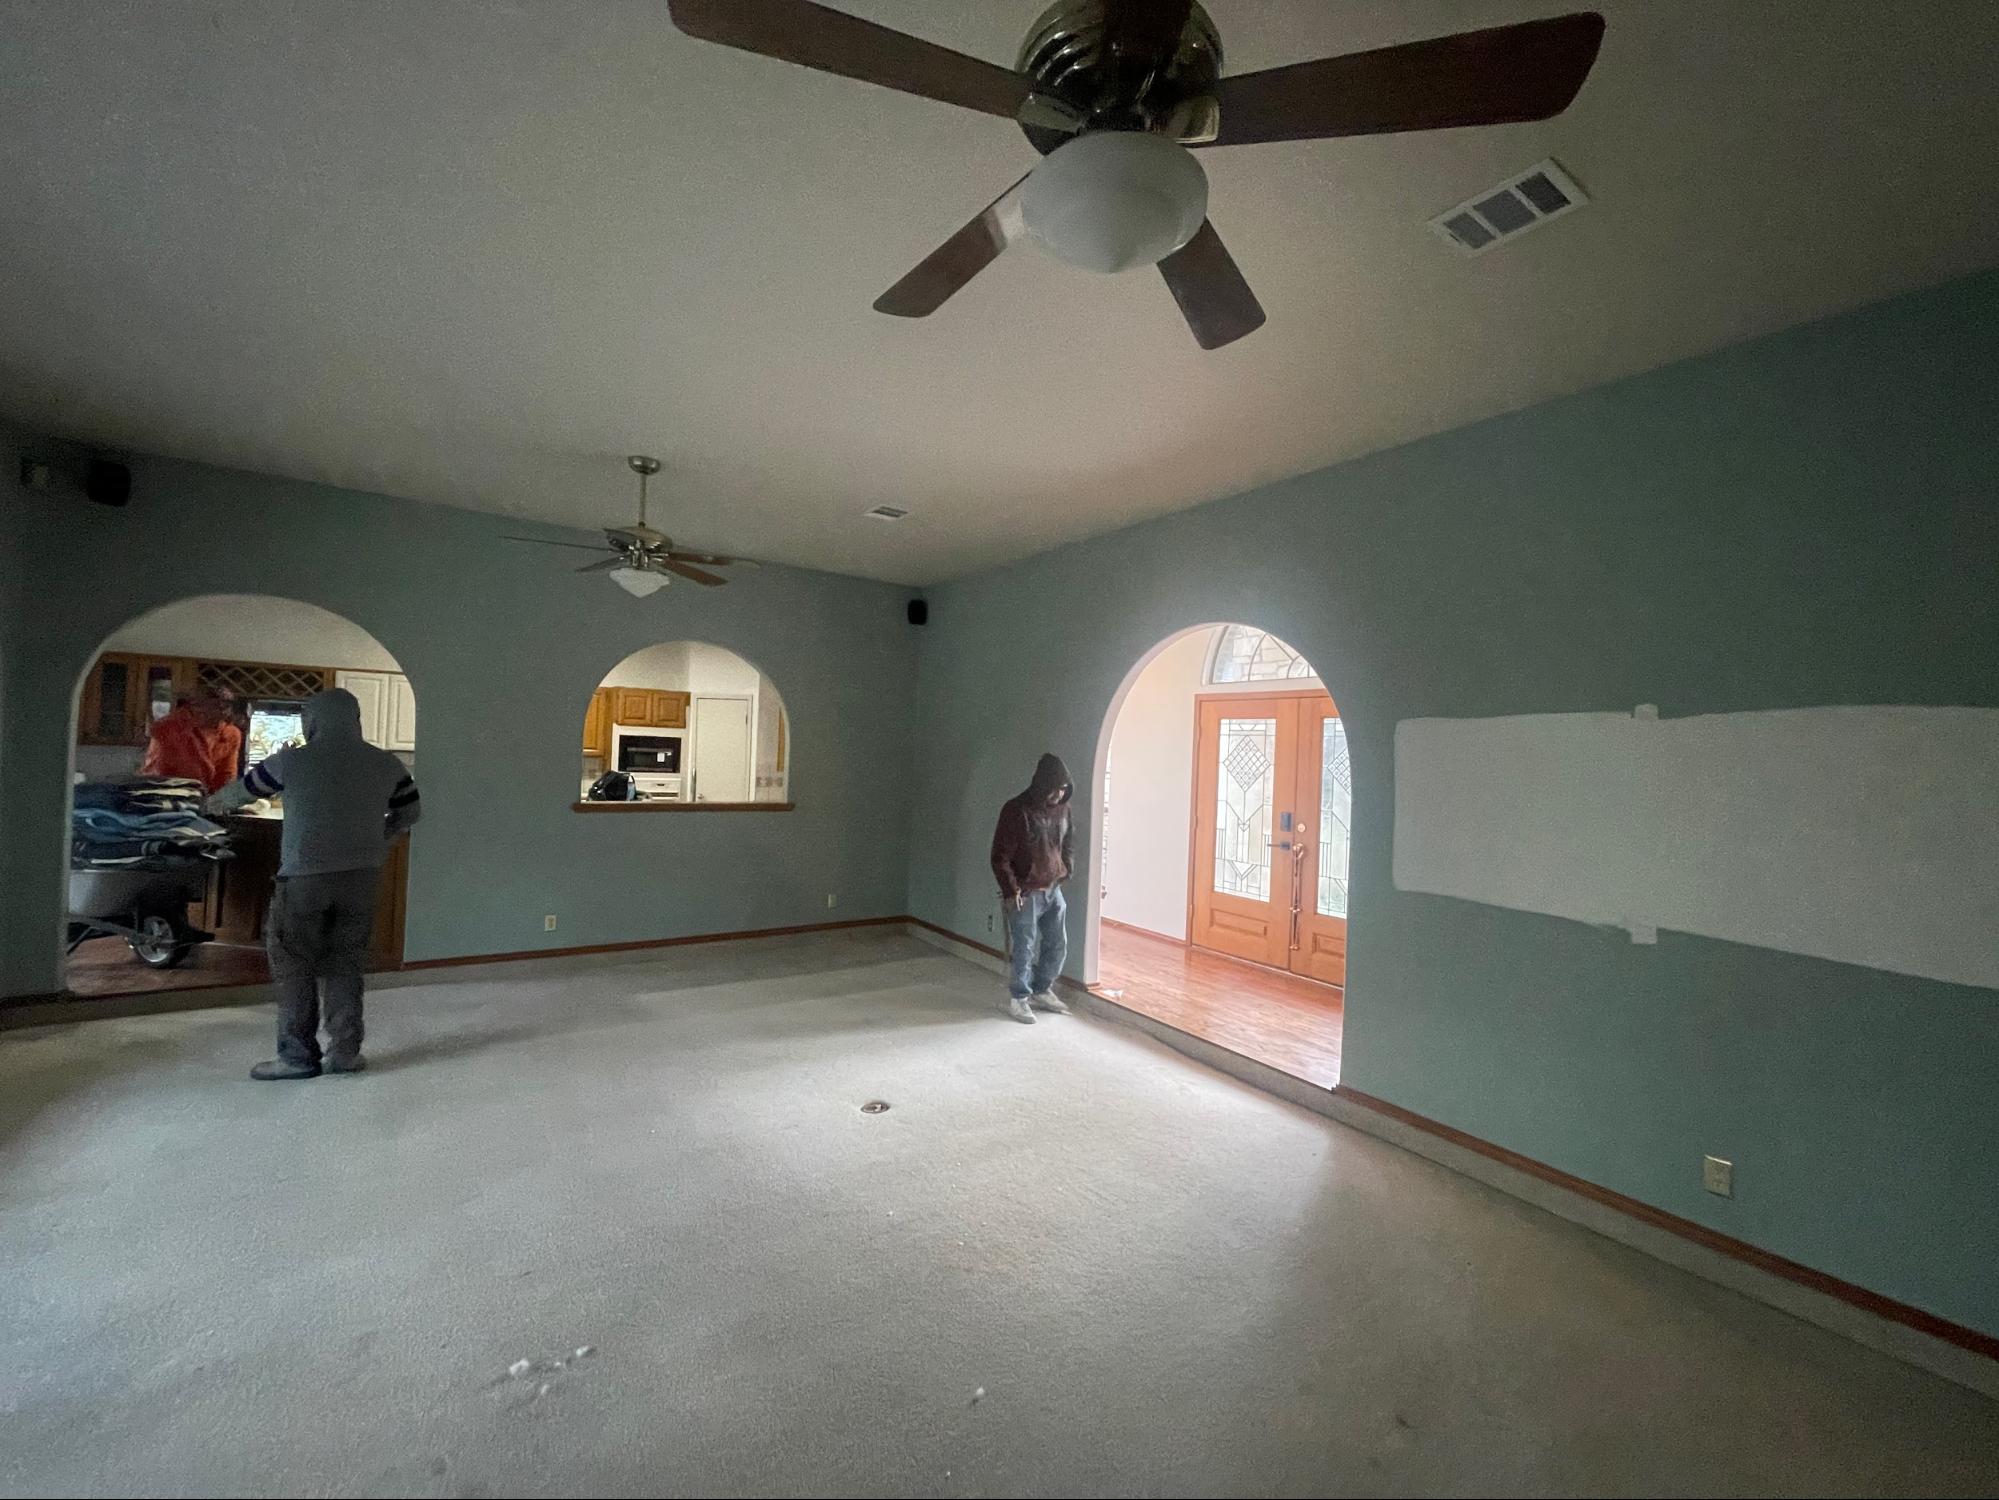
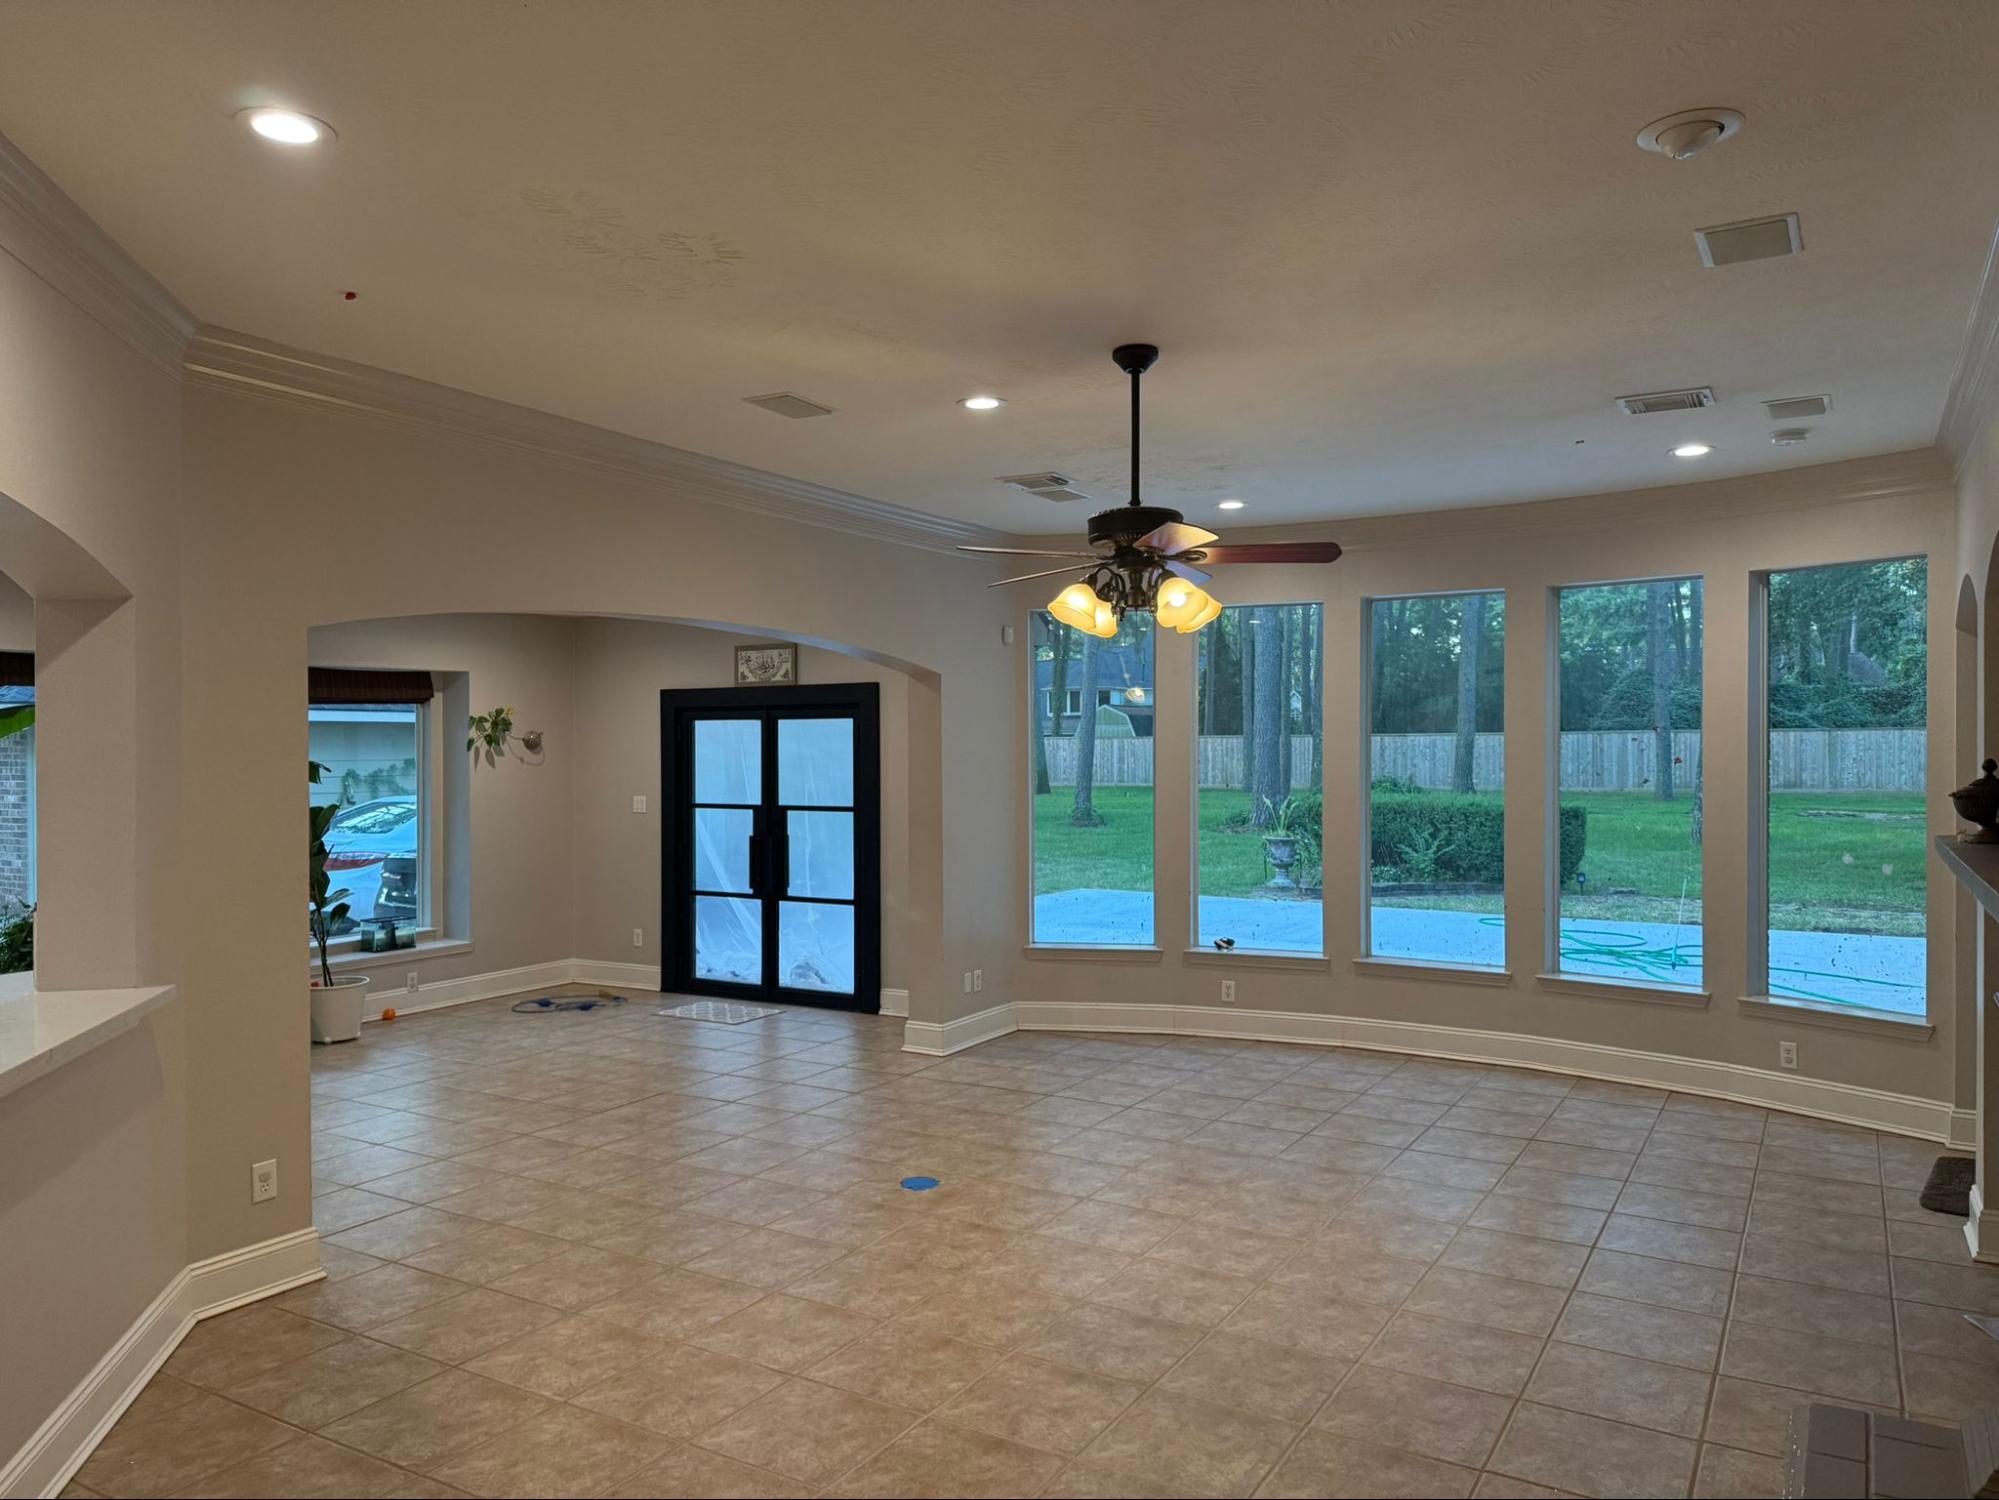
Every bridge gets inspected before it opens. Your beam installation should too.
A proper post-installation check includes:
- Level verification -- the beam should be perfectly level across its span
- Deflection check -- under load, the beam should show minimal deflection (bowing)
- Connection inspection -- every joist hanger, every bolt, every fastener
- Bearing point verification -- the posts are plumb and sitting on adequate support
If your municipality required a permit (and most in Texas do for structural work), an inspector will verify the installation meets code before you close up the ceiling. This isn't bureaucratic hassle -- it's your quality guarantee. It's the bridge inspector walking the span before opening day.
What NOT to Do: The Bridges That Failed
History is full of bridges that collapsed because someone cut corners. The Tacoma Narrows shook itself apart because of inadequate wind analysis. The Hyatt Regency walkway collapsed because of a design change that nobody checked.
In home construction, the failures are less dramatic but equally preventable:
Undersized beams -- Using a beam that's too small for the span and load. It might not fail immediately, but it'll deflect over time, creating sagging floors and cracking drywall above.
Inadequate bearing points -- Posts that don't reach the foundation, or bearing surfaces that can't handle the concentrated load. The bridge is strong; the piers are weak.
Missing joist hangers -- Joists sitting on the beam without mechanical connections. One vibration, one shift, and the joist slides off.
Skipping temporary support -- The wall comes out before the beam goes in. The load goes... somewhere. Usually somewhere bad.
No engineering -- Picking a beam "by feel" or from a generic chart without calculating actual loads. This is how you build a bridge rated for bicycles and then drive a truck across it.
FAQ
Can I install a load-bearing beam myself?
Technically possible, but strongly discouraged. The margin for error is razor-thin, and the consequences of getting it wrong range from expensive repairs to catastrophic structural failure. This is one project where professional expertise pays for itself many times over.
How long does beam installation take?
LBWP completes the entire process -- protection, demolition, beam installation, joist connection, cleanup -- in ONE DAY. Over 12,000 times and counting.
Steel or wood -- which beam is better?
Neither is universally better. Steel handles longer spans and heavier loads. LVL is lighter, often cheaper, and works for most residential applications. Your structural engineer should recommend based on your specific loads and span.
How do I know if the beam is the right size?
You don't -- your ENGINEER does. Beam sizing requires load calculations specific to your home. Generic span tables are guidelines, not prescriptions. Always get engineering for your specific project.
What holds the beam up at the ends?
Posts or stud packs, sitting on bearing points that transfer load to the foundation. The entire load path -- from roof to beam to post to foundation -- must be continuous and adequate.
Will the beam be visible in my ceiling?
Depends on the installation type. Flush beams are hidden within the ceiling line. Drop beams hang below. Both work; it's a matter of aesthetics and structural requirements.
---
Build it right. Build it once. Call Load Bearing Wall Pros at 469-813-8143 (DFW), 713-322-3908 (Houston), or 512-641-9555 (Austin). We've been building bridges -- one beam at a time -- since 2015.